
MOUNTING PROCESS STEPS
 1. Image goes from camera to computer where it is transformed from a RAW (for best results) file to a finished image.
*2. File goes from the computer to the printer (I use an Epson P800) with a textured matte paper. Print dries overnight, preferably. I use Red River Palo Duro Etching 315 paper.
*3. Print is rolled with three coats of an archival, water-based print varnish (link below) to fully seal the pigment inks into the paper. The first two coats are Glossy finish (the clearest) and the last coat is either Satin or Matte. Print dries overnight (minimum) before any further steps. I use PremierArt Eco Print Shield, Glossy, then Satin.
•You need to make sure the print is completely soaked, otherwise the remaining coats will not adhere correctly.
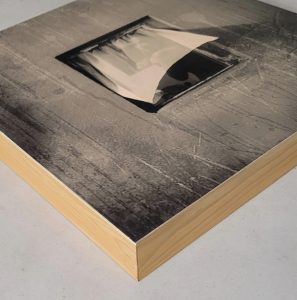
4. Acid free, permanent adhesive film is applied to cradleboard, cut a bit larger than the finished print.
5. Print is registered on the cradleboard with one edge adhered. Release paper is pulled away and the print is “rolled” onto the board with a large brayer, with careful attention to the edges.
6. Mounted print is trimmed to finished size and edges are burnished to remove any edge burr.
7. Sharp corners of the mounted print are lightly sanded smooth to create a slight rounding so they look smoother and won’t snag on a dust cloth.
8. Edges of the completed print are coated with the same polymer used above. This seals the trimmed edges of the print, increasing its durability.
*Red River Paper links for coating materials and photo paper
https://www.redrivercatalog.com/accessories/canvas-coating-sampler.html?a_aid=006&a_bid=1111000 (sample kit)
https://www.redrivercatalog.com/accessories/coating-for-blanco-canvas.html?a_aid=006&a_bid=1111000 (coating liquids)
https://www.redrivercatalog.com/browse/palo-duro-etching.html?a_aid=006&a_bid=1111000 (the paper I use)
Good Luck!
Tim
*I am an affiliate for Red River Paper so if you purchase through these links, I might make a buck or two!
Coating System for glassless mounting of photographic prints
Developed by Tim Anderson
April 2022